
Growing cannabis indoors, particularly when growing in a specially designed container or LED light, could be highly gratifying. Unfortunately, both options can be costly even if you build your own, which isn’t that hard to do either. Below we’ll talk about whether you want to use a growing box or LED lights, and how to build your own growing DIY led grow light.
Marijuana is becoming more and more popular. Cannabis is gaining popularity right across the world. Hemp is permissible in many more countries as has been banned or legalized by many in the US for possession of other forms of cannabis.
Moreover, several American states have permitted the cultivation of marijuana since. Because of all this, it is much less trendy now to produce marijuana in houses than it was then; however, the optimal conditions would always be required for the most success. Therefore you would like to recommend that you use the box or LED light.
Although it is true that cannabis is a crop that can thrive in nearly any environment, you wouldn’t want a crop that just survives. You wish your plant prospered. A growing box or LED light may simplify that operation.
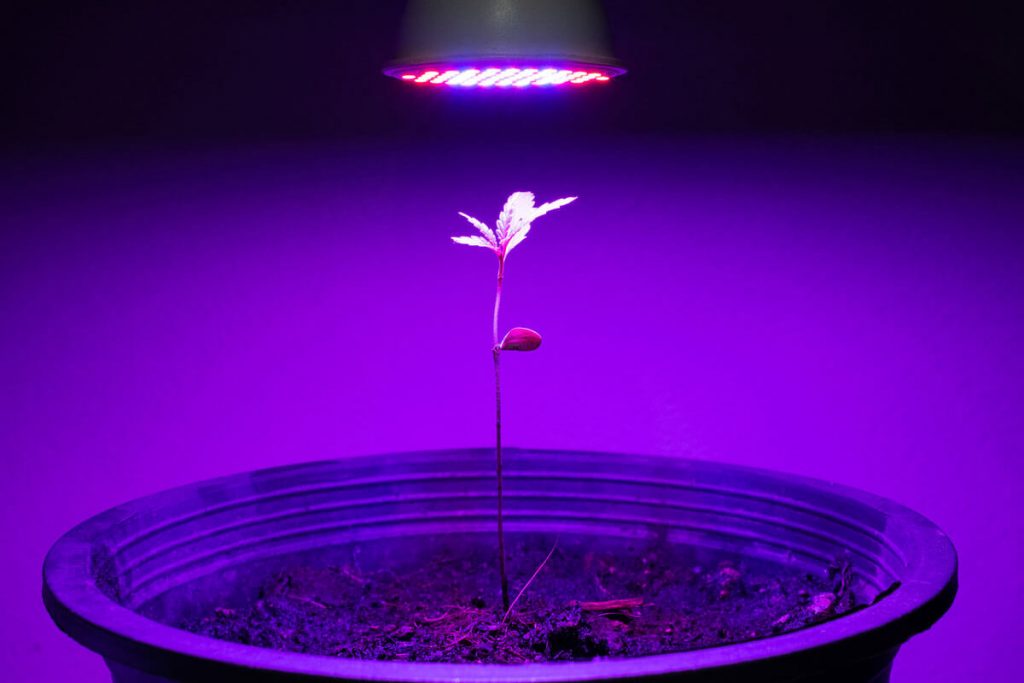
Advantage of LED Grow Light:
When a package is rigid, a growing LED light has the exterior of cloth or plastic. With this piece, we’ll show you how you can build your own LED lights. Of course, there are many types of increasing configurations that range from a large LED light to something like a packed room, and none is greater than the next, perse. Your optimal design depends on the particular option.
For example, some farmers need the stealthiest option, so go for something like a PC grow box that essentially grows a crop inside the blank computer system.
For as little as $100, you can create a DIY LED Grow Light! This is when you need it:
You’ll use duct tape or an equivalent barrier tape but never use Scotch tape because this tape will be used to bind the Poly. Your Velcro (or cable ties) is now being installed to secure loose wires. The LED light wants each poly black as well as white because they’re going to be able to handle the heat. The white side of the structure reflects light, whilst the black side absorbs heat.
It may also be advisable to use the adjustable shelving devices conversely for PVC piping as it is extremely easy to install. You can create a rising LED light that incorporates PVC piping unless you do a little more research.
Build a shelf that uses PVC pipes, or ready to go install the shelving kit. Having a good top shelf will be spacious enough to put on the lights, and high enough to give space to your crops as they grow upwards. Getting removable is also advantageous in case your crop grows bigger than planned.
Strap the loose cables by cord ties or Velcro to the base of the LED light.
Place the ventilator underneath the rack. Make sure it is located, so the power switch is readily accessible. Maybe pay a little bit of money to use a remotely controlled ventilator only.
Hang the poly over through the container frame, or through the rack. Verify the black hand is facing outwards. Put another of the poly surfaces across the top shelf, with either side of the racks lying on either side. Meanwhile, leave some accumulated waste material to the land.
Tape the poly back onto each top edge and onto the high rack. Cut down the side tops, then velcro them. Then cut off any excess stuff hanging from below. Using some poly remaining to create a doorway covering the shelter’s last uncovered side.
Here’s the diverting part. Changes can now be made when necessary. This can include monitoring the levels of temperature and relative humidity. If the average temperature gets very high, then trim a few other slits for ventilation at the top end of the LED light.
You ‘re going to need a nice-sized container anyway. It has to be solid and robust enough to cope with the intricate root system of a cannabis plant. Don’t want to throw away your vessel with fertile nitrogen soil ideal for growing cannabis. Place your jar and crop into your newly-growing LED light, and you can grow your own weeds. That’s to make sure you get the perfect setup you want for your LED light.
Now that your DIY’s ready to LED grow light, you could start thinking about how your crops are grown. If you want to start with seeds, then the seeds will mature. Buy medical cannabis at seed stores promised to sprout the seeds for you. Additionally, clippings or other crop clones will start on your own.